Monday, October 29, 2012

Love Is......

Hello everyone!!  I really loved the color challenge that went up on Thursday at The Play Date Cafe and had to play along.  The colors for the challenge are mint, gold, and leather.......

I love, loVE, LOVE this card.  I used my Cricut to cut the heart and the Cuttlebug to emboss the brown/tan cardstock.  I hand cut the little gold colored flags and also embossed them with my Cuttlebug.  Here is a closer shot....

 Here is the challenge photo.....

This is my second post for the day.....if you missed my first one, scroll on down to check out a fun family layout that I created for Scrappy Monday with My Creative Time.

Hugs,
Amy


Supplies-
  Cardstock: Stampin' Up! (kraft), Bazzill (white), DCWV (gold)
  Patterned paper: Pink Paislee
  Embossing: Cuttlebug
  Die cut heart: Cricut 
  Ribbon: My Craft Spot
  Sticker: SRM Stickers
  Pen: Stampin' Up!
  Other: button, hemp twine, Sewing machine and thread 

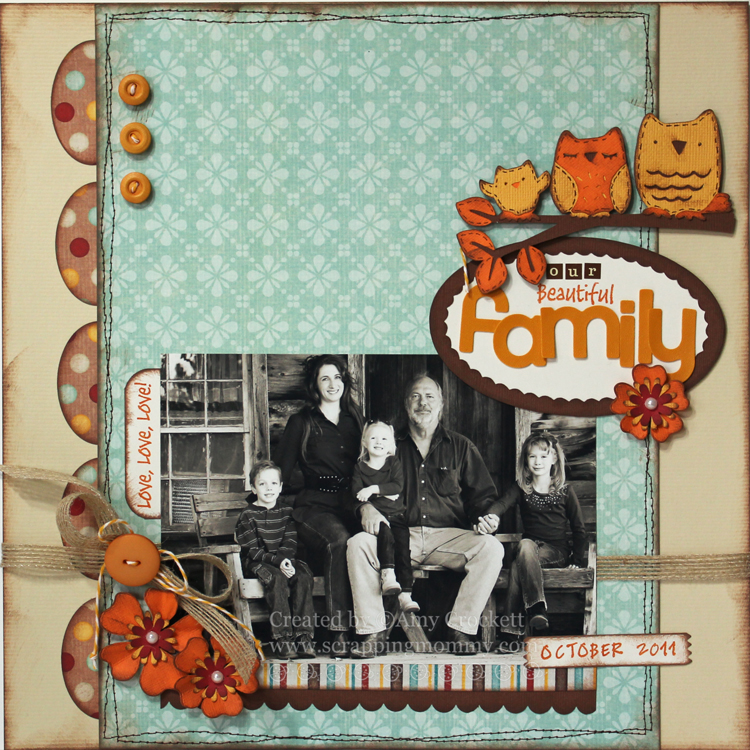
Our Beautiful Family Layout with My Creative Time

Hello and welcome!!  Some of the design team have created layouts today for Scrappy Monday at My Creative Time.  We were challenged to pick a letter and create a layout around items that start with that letter.  I picked the letter O......can you spot the things in my layout that start with the letter O??

I cut the cute 'O'wls out with my Cricut and the Hoot n' Holler'n cartridge.  I used some 'O'vals in my layout under the title and also along the left edge of the layout.

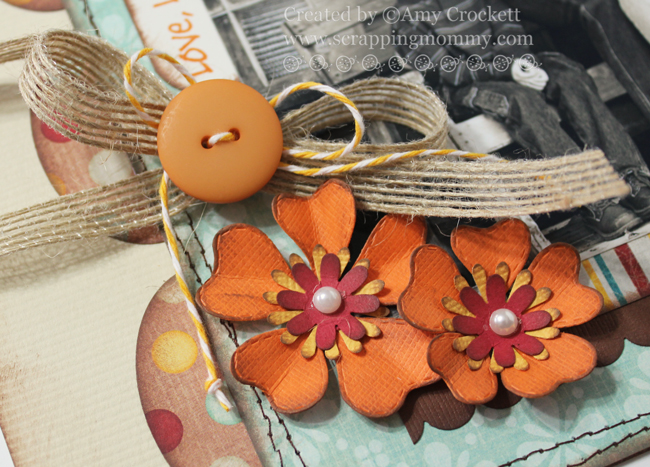
I used 'O'range cardstock for one of the layers as well as with the fab Flower Petal dies from My Creative Time.  I also did some stamping with Orange and the Just Simply Live stamp set.

My kiddo's also pointed out that the layout is of 'O'ur Family and that we had the pictures taken in 'O'ctober.  Super clever of them to notice that!!  I hope that you will hop on over to the My Creative Time blog to check out the fab layouts done by the other design team members for Scrappy Monday.


Hugs,
Amy

Supplies-
  Cardstock: Bazzill
  Patterned paper: My Mind's Eye
  Stamps and flower dies: My Creative Time
  Die cuts: Cricut
  Oval punch, corner rounder: Stampin' Up!
  Jute ribbon: Liz's Paper Loft
  Bakers twine: The Twinery
  Letters: American Crafts
  Ink: Stampin' Up! (orange), Colorbox (brown)
  Pearls: Recollections
  Other: buttons,  sewing machine and thread 

Sunday, October 28, 2012

3D Projects with the Jinger Adams Collection

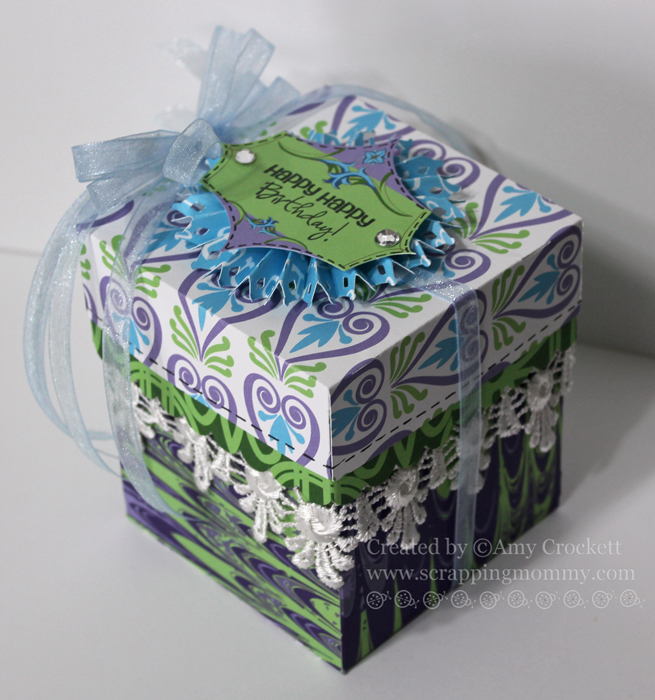
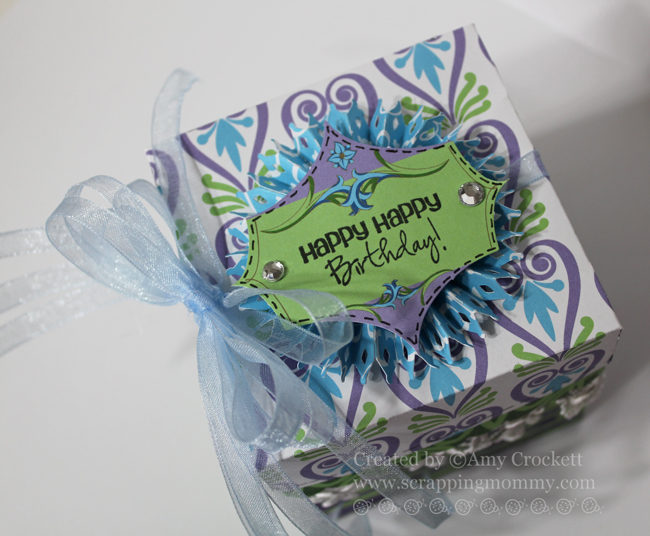
Hello everyone!!  Today I get to share some more fun projects on Jinger Adams blog with some of her new Collection.  I created these 3D gifts with the wonderful Bella Vita line and my Cricut machine......first up is this birthday gift box.

I added some of the wonderful lace trim from this collection to the edge of the lid.  I also cut a rosette with my Cricut and put it under a label that comes in this fabulous pack of papers.  I stamped Happy Birthday from the Wow! So Many Candles stamp set from My Creative Time and added some rhinestone accents and tied it all up with a pretty sheer ribbon.

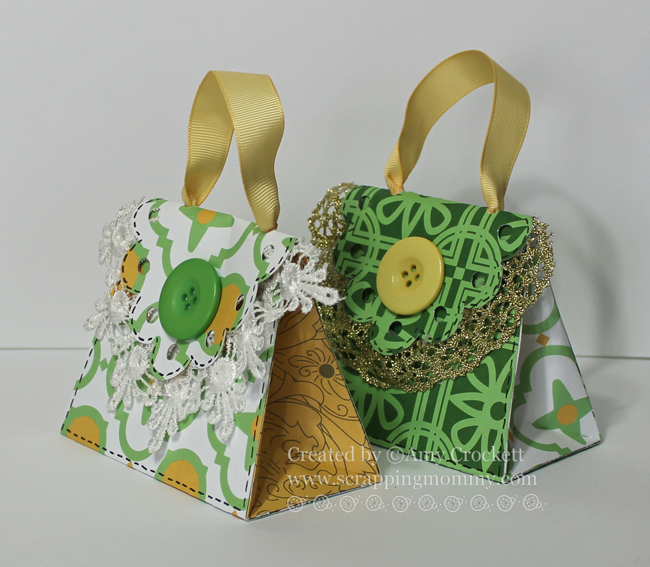
Next up I have a couple of little purses that I have also cut from the beautiful Bella Vita papers......

I used the Cricut for these as well.  I used some of the lace trim from this collection under the flaps and then added some ribbon for the handles.....here is a tip for when you are adding a handle to a project and you want to give it a little more stability, put some clear tape where you are going to punch the holes and it will make it more secure so that the handles don't pull through as easily.  I finished it off with a little pen stitching and a button on the flap.

I hope you have enjoyed my projects and that they have somehow inspired you to get creative today.  I would love it if you could hop on over to Jinger's Blog and leave a little love for me over there under my post.  ;)


Hugs,
Amy

Thursday, October 25, 2012

3D Wall Art with Peachy Keen Stamps

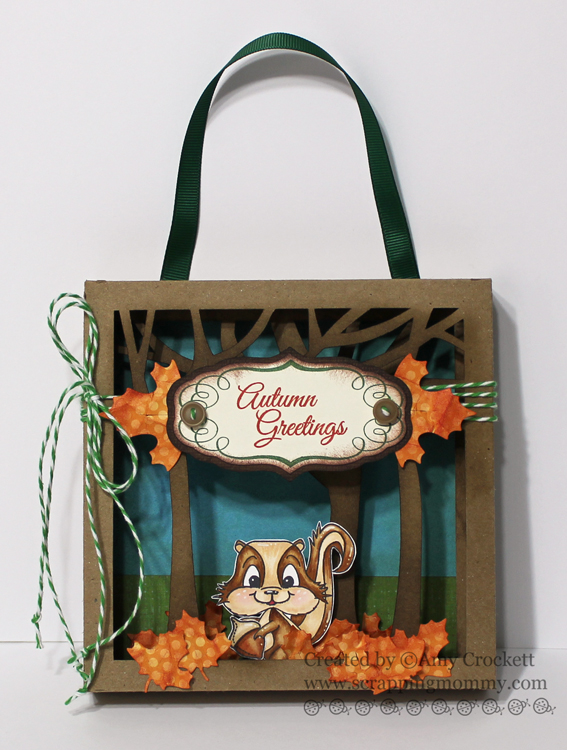
Hey everyone!!  The weekend is upon us and there is some great fun to be had over at the Peachy Keen Stamps challenge blog today.  The challenge over there is to create a 3D piece of art that can be hung on the wall.  For my project, I used two of the Peachy Keen Stamps monthly kits along with my Silhouette plus My Creative Time leaf dies......check it out.....
The 3D shadowbox is cut with my Silhouette Cameo from an image in the Silhouette store. I inked the trees and then assembled the project together.  I added in the cute little chipmunk from the October KOTM that I colored with my copic markers and then put him in the image with some foam adhesive (adding a couple of layers in some places).

The leaves are cut from the Piles of Smiles set from My Creative Time out of some paper scraps and then crinkled and inked for a fun look.  I added the sentiment from the October KOTM and the framed image is from the September KOTM.  I finished off the project with some Peapod bakers twine from The Twinery and a couple of buttons.  What do you think??

I hope you can hop on over and join us at the Peachy Keen Stamps challenge blog for this really fun challenge.  CLICK HERE to get all the details and to check out what the other super talented designers have put together.

Hugs,
Amy

Large Fall Tag with My Creative Time

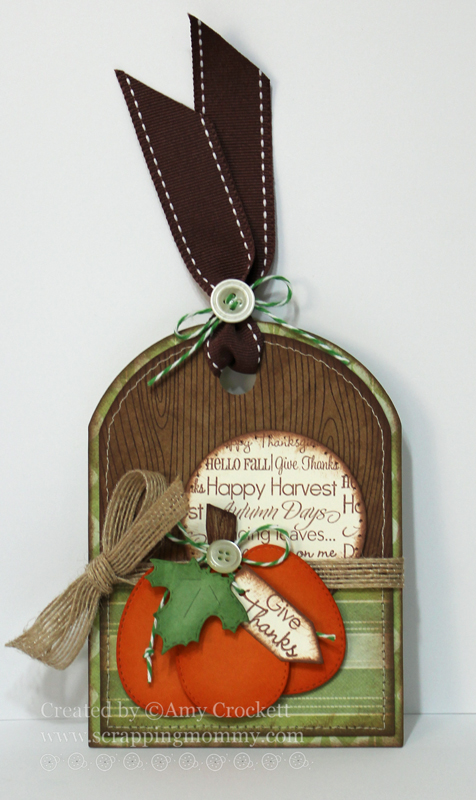
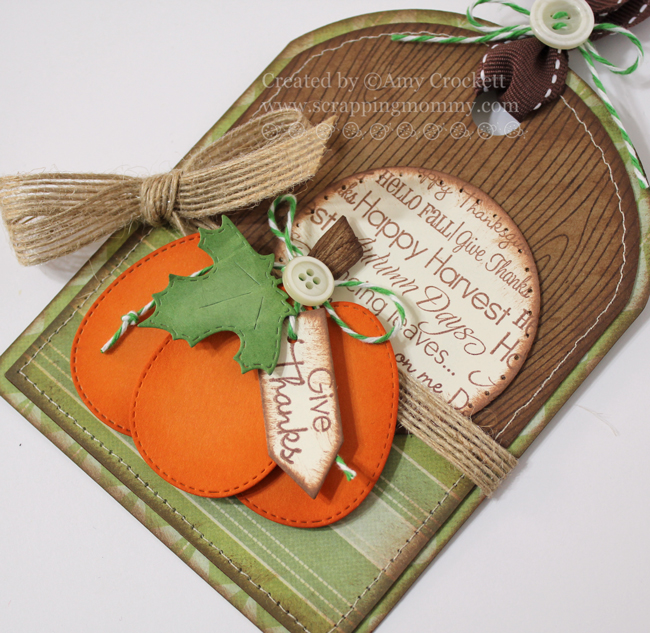
Hey everyone!!  Today over on the My Creative Time blog there is a new challenge up from Ruthie to create a large tag project.  I thought this was a super fun project and couldn't wait to get started.......

I really love fall....cuddling up in my favorite sweaters, snuggling next to my hubby by the fire, hot cocoa, colorful and crunchy leaves under my feet, but this week we went from what seems like the beginning of fall right into winter, so I thought I would pull some of the beauty of fall back home with my tag.....
This tag measures approximately 4 3/4 inches by 6 inches (without the ribbon).  I cut it out with my Cricut and the Creative Memories Traveler cartridge.  I used My Creative Time's egg dies from the Hello Spring set to create the pumpkin.  I also used the Piles of Smiles set for the leaf and the "Give Thanks" sentiment along with the Just For You set for the stamped sentiments in the circle.
For the tag, I used the Teeny Tag Greetings stamp set.  The papers are some old We R Memory Keepers from my scrap pile and I stamped the woodgrain with an old SU background stamp. I finished off the card with a little Jute ribbon from Liz's Paper Loft Boutique, Peapod bakers twine from The Twinery, some stitched ribbon from SU and a little stitching and buttons.

I hope you can hop over and join us by creating a large tag like the one I created.  You can check out all the details and the other projects by my fellow designers over at the My Creative Time blog along with how to link up when you are ready to join us.

Hugs,
Amy

Tuesday, October 23, 2012

Missing You!! PDCC154

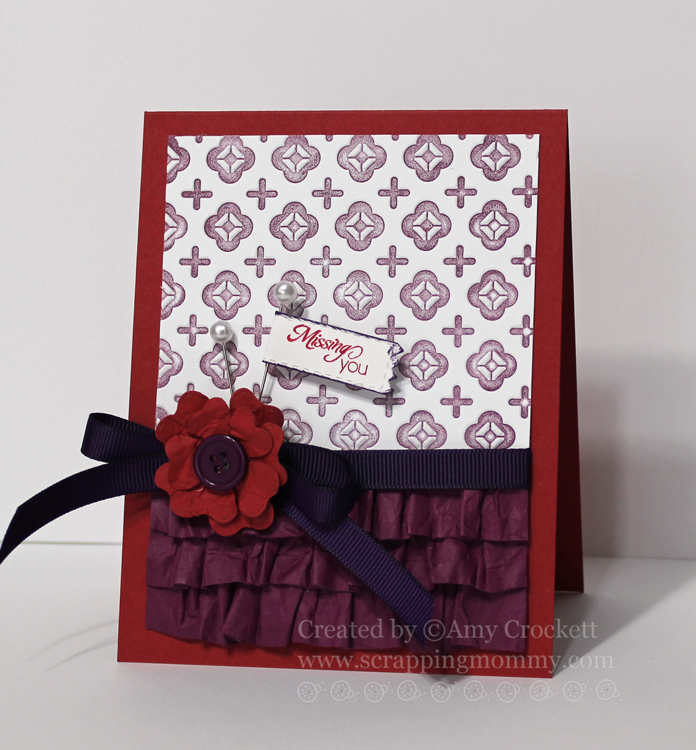
Hi everyone!!  We woke up this morning to a beautiful blanket of snow......along with many downed tree limbs and my poor broken lilac bush.  I sure hope it can recover because I love my lilacs in the spring.


Having a snowy day, I was able to spend a little time in my crafting room and was able to get a card complete for The Play Date Cafe's 3rd Anniversary Celebration........
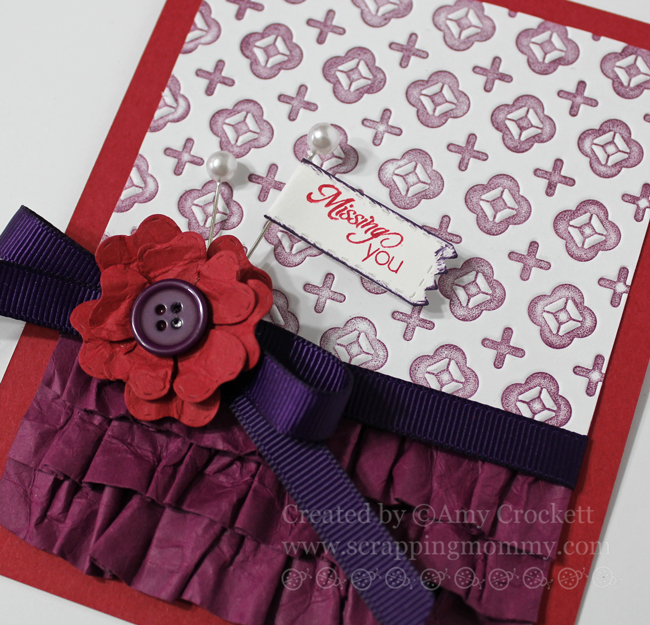
For my card, I thought it would be fun to ink up an embossing folder and create my own inked and embossed background paper.  So very pretty!!  I also crinkled come cardstock and ruffled it along the bottom of the card in three rows.  I made the flower with the Flower Petal Dies from My Creative Time and added it to the bow I tied with ribbon.
For the sentiment, I added on of the Tiny Tag Greetings to the Just Simply Live die and folded it in half over a straight pin with a pearl head.

Here is the challenge photo.....

Hugs,
Amy

Saturday, October 20, 2012

Decorated Frame with Jinger Adam's Collection

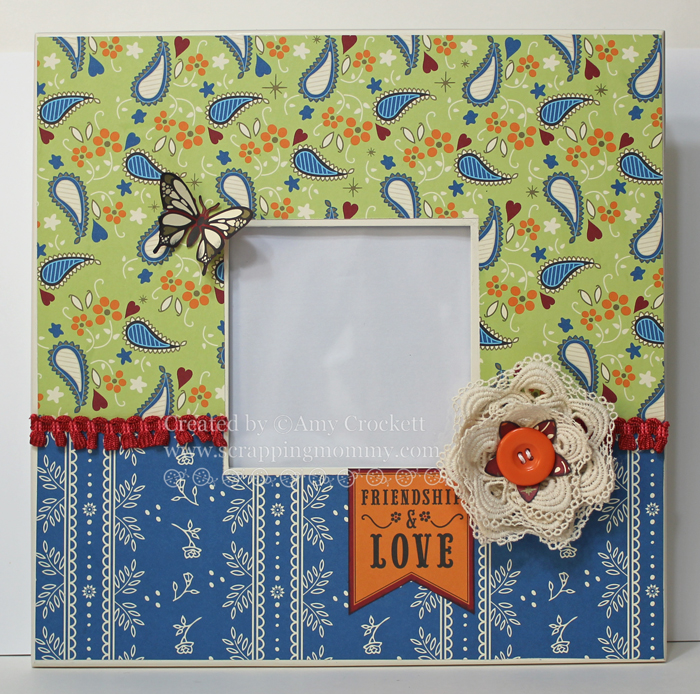
Hi everyone!!  Today to share another fun project on Jinger Adam's blog that uses one of her new collection sets.  This frame is decorated with her Gypsy Queen papers and embellishments.  I really love how well they all pull together.

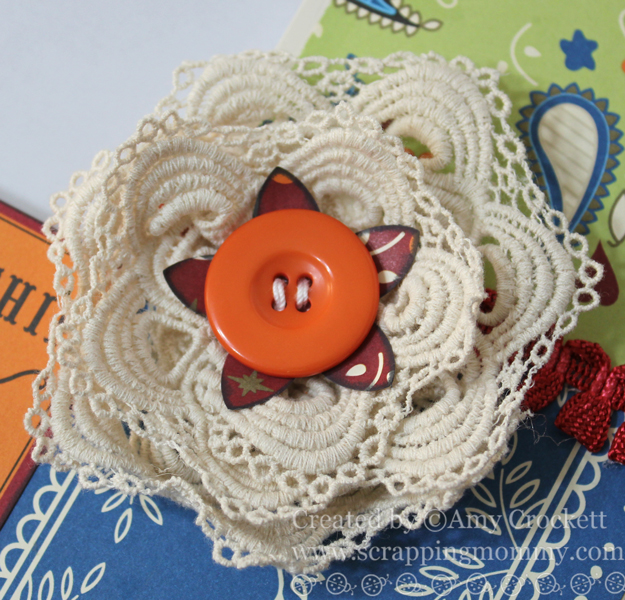
These papers are so pretty!!  I really LOVE the rich colors she used for them.  To cover my frame with the patterned paper, I measured this 12 x 12 frame and cut the papers so that they are slightly smaller than the frame and a little bigger at the opening for the picture.  I added some of the fun red fringe and then made a flower with this beautiful lace.  I added a punched piece from the paper line and then finished the lace flower off with a button.

Under the picture area, I added this fun little die cut banner tag that is in with the Gypsy Queen paper pack.

I can't wait to store a beautiful picture in here.  I hope you have enjoyed my project today and I would love it if you would pop on over to Jinger's blog and leave a comment there for me, too.  Don't forget to check out what the other designers have been up to. 

Here is a quick look at the papers in this beautiful Gypsy Queen paper pack:


Hugs,
Amy
Thursday, October 18, 2012

Halloween Coffin Treat Boxes

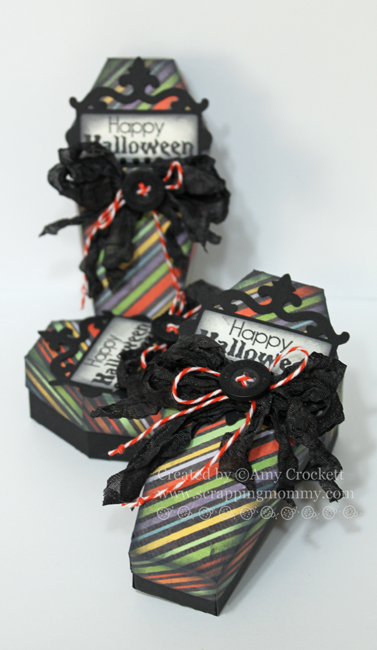
Hello and welcome to the Halloween Blog Hop with the My Creative Time Design Team!!   I am so excited that you could make it today.  There are some pretty fab projects along the way today and tomorrow and I hope that you can hop along with us for both days.  Today I am going to share a fun project that I created with my Cricut, the Artiste cartridge as well as the fab Treats for my Sweet stamp set from My Creative Time....

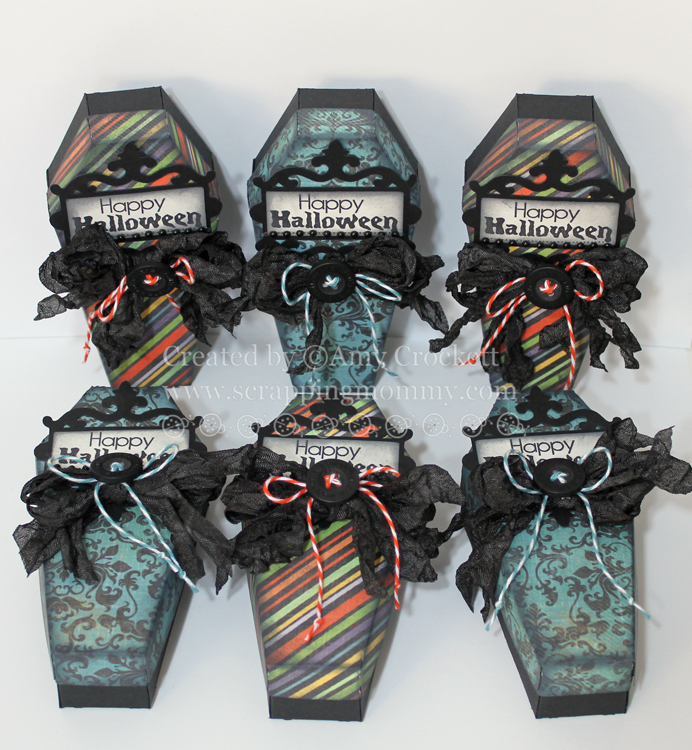
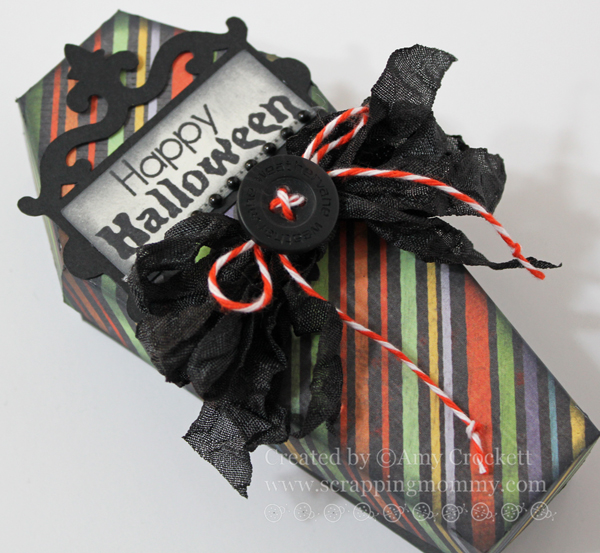
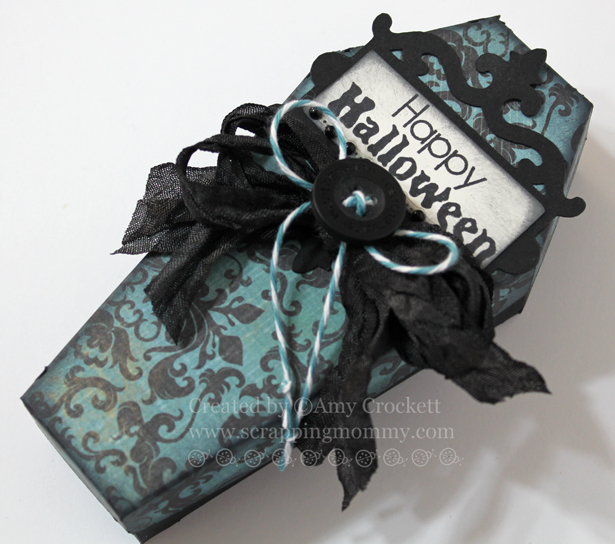
I think I am going to fill these fun little coffins full of candy corn and use them as party favors.  I cut them out with two different patterned papers from Fancy Pants Designs and then inked them up a little bit.  The scroll sign was also cut with my Cricut and the Artiste cartridge and then stamped with the Treats for my Sweet stamp set.

I added some crinkle seam binding ribbon that I dyed myself with some Plain Jane mist from Tattered Angels.  I added a little border of black pearls under the sentiment and then finished them off with a button and some bakers twine from The Twinery.

Here are a couple of close up shots.......


***GIVEAWAY***
This wouldn't be a party without a FANTASTIC prize .... right? Random.org will pick ONE winner each day to win ALL OF THIS! All you have to do is leave your comments for a chance to win ALL of this! DON'T FORGET to leave us you contact information just in case YOU are one of the LUCKY winners! You have until Sunday at midnight to leave your comments! GOOD LUCK!:)

**SALE INFO**
Miss Emma is ALSO having a sale that is going on RIGHT NOW!!  It will end on Sunday, Oct 21st @ midnight! Use the code SPOOKY and start shopping here to get 20% off your order!

Here is the blog hop lineup for today:

I am linking my project up at Ribbon Carousel RCC73 - Halloween Spirit and Paper Issues Halloween Harvest Time.

Have fun and Good Luck!!

Hugs,
Amy
Friday, October 12, 2012

My Quiet Book and a Winner!!

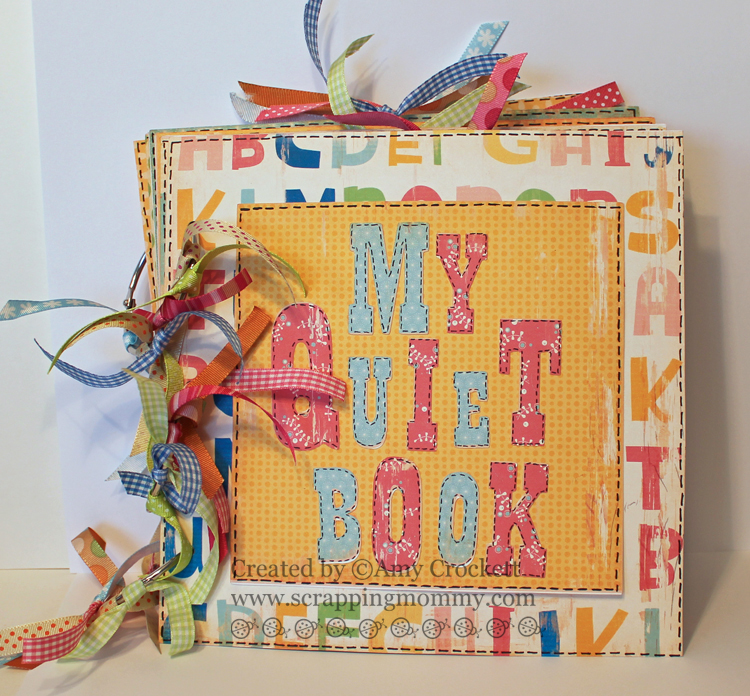
Hi!!  Today I have an project to share with you that is perfect for those with younger kids.  I made this fun little quiet book with the Cricut Imagine, the My Quiet Book cartridge, and the Imagine Hopscotch Cartridge.  This book measures about 8 x 8 inches.  Here is the front cover.....

Isn't it awesome that I used only white cardstock on this whole thing and the Imagine printed and cut everything out??  I really love using the Imagine when I am trying to pull together projects that need more than one piece of paper to coordinate.....it just makes it so much easier.  I added some pen stitching to the whole book to give it more of a homemade feel.  Here is the first two pages.....
The duck and the fish (along with other pieces that are in the pockets between the pages) can be taken off and moved around the page....they have a temporary adhesive behind them.  The bird is in the nest with some numbered eggs to help teach counting....they can all be removed and then put back into the nest.  Here are the next pages.....
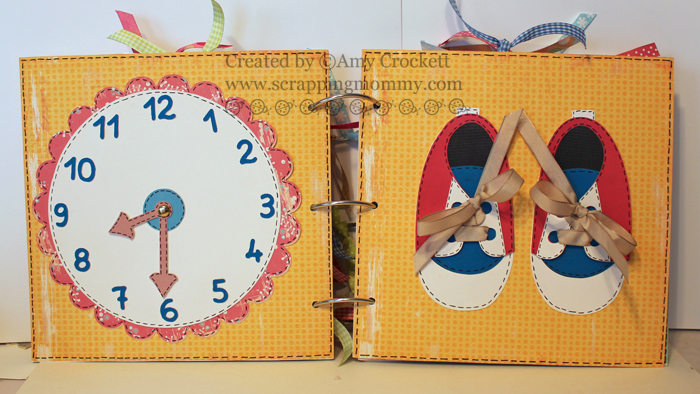
The hands on this clock move and the laces on the shoes can be untied and retied.   I used three metal rings to bind this book together and tied some various ribbon on the outside of the book on the rings for a fun look (great way to use up that ribbon stash).  Here are the next pages.....
The same goes with these pages.....elements can be taken off and moved around the pages with a temporary adhesive.  I added extra elements to come clear acrylic pieces (think Cricut packaging) and tied them with ribbon to slide in the pockets I have between each of the pages so there is always more fun to be had.  Just like on this next set of pages where there are more face pieces in each of the pockets......
If you look closely at the picture above, you can see the clear acrylic piece along with the extra elements for these faces (there are a few more pieces that are not shown in this picture).  Here is a peek at the last set of pages in this fun little book.....
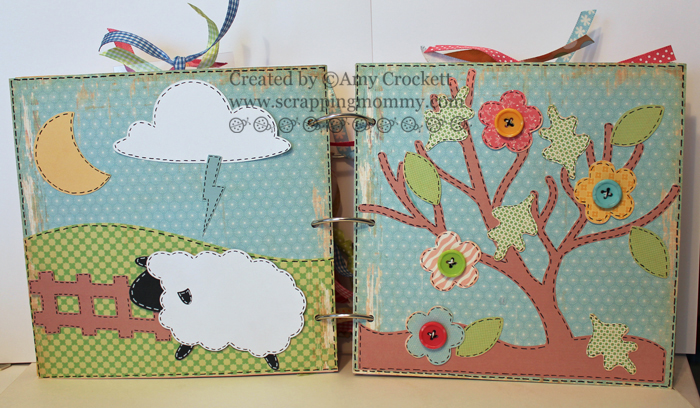
The flowers and petals come off and can be moved around the page to the other stems.  The shapes are a matching type of game where they cna all be taken off and matched again to the correct space with the 'naked' shape below it.  I have also written in each of the shape names on the colored ones.

Well, I hope that you have enjoyed this fun little tour of the My Quite Book that took me quite a while to put together.  It was published in the February 2012 issue of the Cricut Circle Magazine.

Now it is time to announce the winner of the stamp sets that I was giving away on MY POST during World Card Making Day.  The winner via random.org is:

I have always had colouring books and things like that.. but my mother always made sure there were a steady supply of paper, pens and scissors too.. so i could create my own things. She still has the ornaments I made for my first Christmas.. of course.. they are all cut out of BLACK construction paper.. lol :)

Congratulations!!  Please EMAIL ME your shipping information and I will get these stamps packaged up and off in the mail for you.  You have 5 days to claim your prize.  Thank you so much to everyone for sharing your stories with me.  I really enjoyed reading them....it makes my heart happy to hear about each of your experiences and I am happy to hear about how many of you love the way that your crafting brings smiles to other's faces.  It is a wonderful reason to create!!

Thanks so much to those who have voted for me in the Last Card Standing competition with Taylored Expressions.  I am really so happy to see so many votes for my project, unfortunately, the contest ends tonight and I have fallen WAY behind the leader and unless by some miracle there are tons of votes in the next couple of hours, I will not be the winner.....I am not very good at the popularity contest sort of thing and so I guess that is why I don't usually win these sort of competitions.  I am really very happy to have made it as far as I have, though.  There are so many talented card makers that entered, I am just super happy to have made it as far as I did.


Hugs,
Amy
Thursday, October 11, 2012

The Jinger Adam's Collection - Love Card

Hey everyone!!  Today I get to share a post over on Jinger Adam's blog with her beautiful new line called Gypsy Queen........

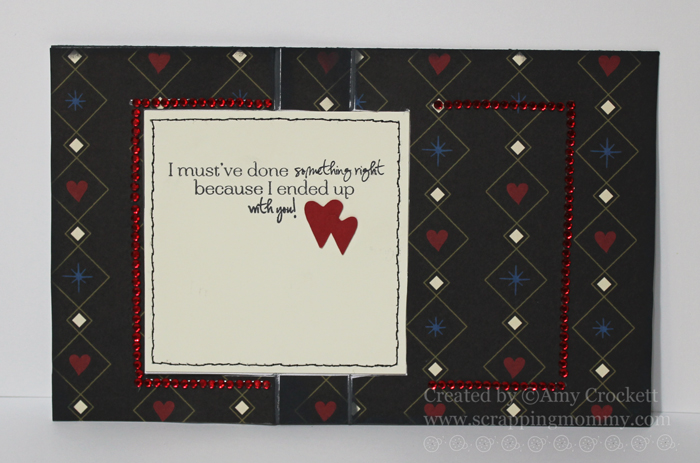
The "love" and hearts are cut with my Cricut and I used some of Jinger's fab gold trim for the front of my card.  I applied some glossy accents to the hearts and layered them with a button and a little twine.  For the square base, I added a little machine stitching and then the red rhinestones around the edge.  Here is a close up shot.....

This is one of Jinger's Pop-out Flip Cards.  I really love how interactive and fun it is to open.......

For the inside, I added one of My Creative Time's stamps along with some more machine stitching and two more hearts cut on my Cricut.  Here is what the inside looks like......

I hope you have enjoyed my project for today.  Did you know that Jinger's website is launching on October 19th??  I can't wait to check it out, how about you??  I would love it if you hopped on over and left a little love for me over on Jinger's blog.  Also, you must check out what the other designers are doing with these fab collections.

Hugs,
Amy 

Scrapping Mommy
follow me on facebook 

Wednesday, October 10, 2012

Fun Fall Card with Peachy Keen Stamps

Oops!!  I just realized that this post didn't go up on Monday when it was suppose to.  I must have clicked save instead of publish and then I was gone most of that day for my grandmother's funeral and didn't check to see if it went up.  Here it is two days late, but I hope you like it!!  

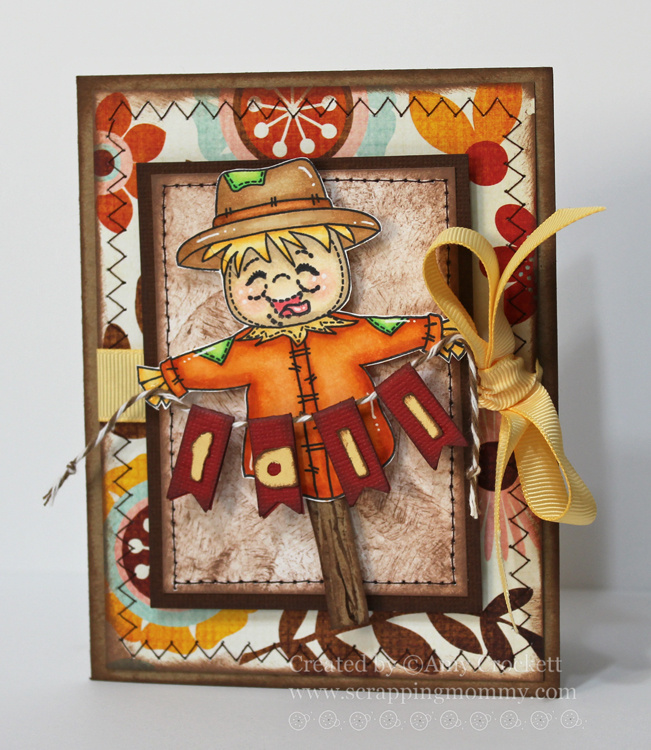
I really LOVE fall!!  It is my favorite time of the year.  There are so many beautiful things to see......like the lovely way the leaves change color.  I was inspired by all the many colors of the fall leaves for my card today that I got to share over at the Peachy Keen Stamps blog......


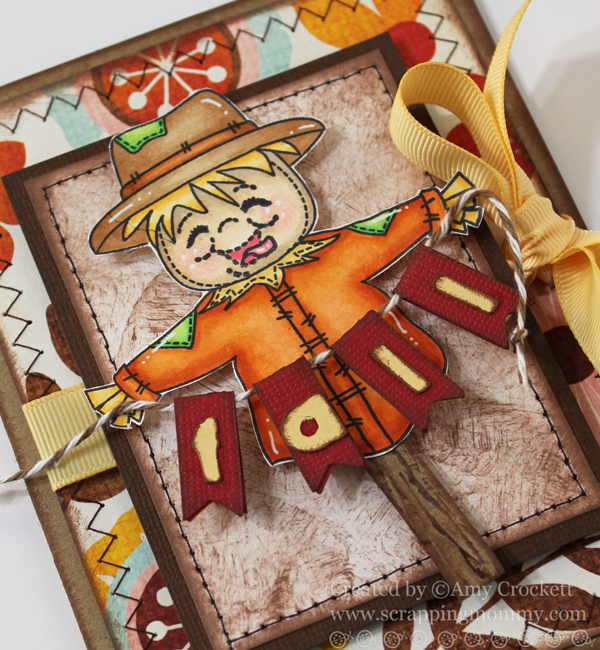
I used the September Stamp Kit of the Month from Peachy Keen Stamps to stamp the scarecrow and then I colored him with my Copic markers and a few the pen details with a Sakura Gelly Roll pen.  I distressed a little piece of kraft cardstock with a craft knife and dark brown ink to look like a piece of wood.  I used my sewing machine to stitch around the card and the layered piece under the scarecrow.  I used a small ink pad to apply brown ink to the white background under the scarecrow and I really love the distressed look of it.


I cut the "fall" banner with my Cricut and put it on a piece of bakers twine from The Twinery.  I tied a yellow ribbon around the card and then used some foam adhesive to add dimension.  I hope that you are inspired to get to work on some fall themed projects of you own!!

Have a great day!!

Hugs,
Amy
Follow me on facebook

Monday, October 8, 2012

I'm in the Final 5 (Last Card Standing) I Need Your Vote!!

Hey crafty friends!!  Today they announced the top 5 in the Last Card Standing competition with Taylored Expressions over on Splitcoast Stampers.  I am really very excited and honored to have been chosen and made it this far.  Now, the winner will be chosen by voters and I really hope that you would be willing to hop on over and cast a vote for me here: Last Card Standing Vote

The cards that got me into the top 5 spot are these two:

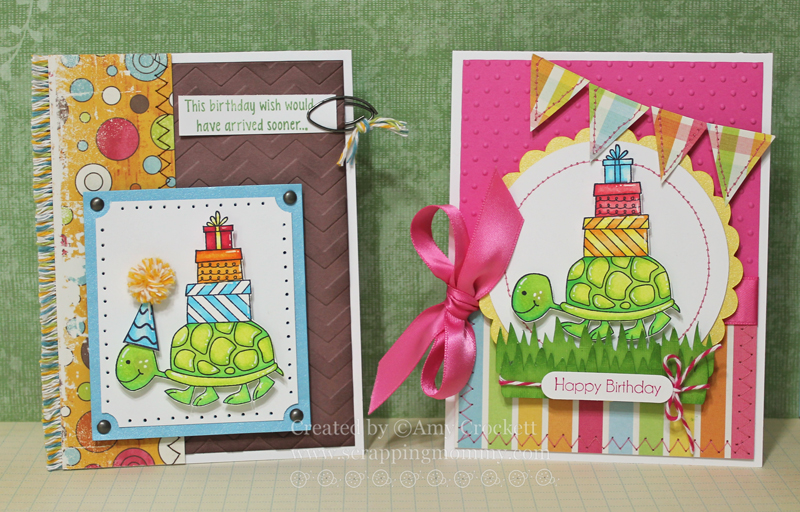
We had to create two cards with the same stamp from Taylored Expressions.....one for a boy and one for a girl.  I used the A Little Slow stamp for my projects.

These are the other cards that I created to get me this far in the competition:
I really appreciate the votes you can throw my way.  Thank you so much!!

Hugs,
Amy

Saturday, October 6, 2012

Happy World Card Making Day!! **GIVEAWAY**

Hi and welcome to my blog!!  I am so glad you could join me today as I share a couple of cards with you for World Card Making Day.  So, have you been hoping along the fab list of designers??  If not, you can check the huge blog hop by clicking on the picture below.....


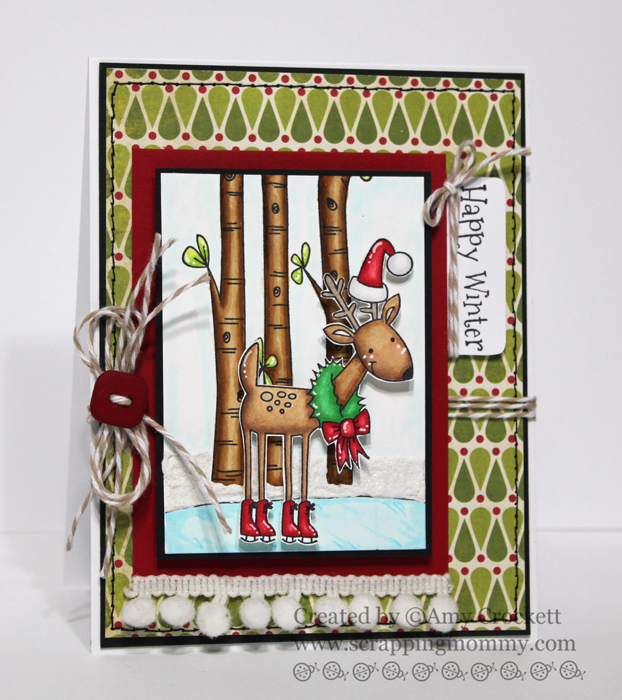
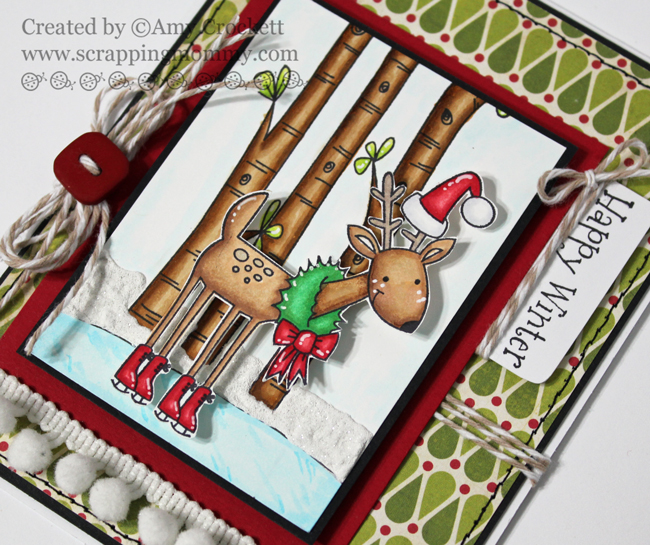
I love to get a head start on my Christmas cards and so I though I would pull one together for you today.  I used the Taylored Expressions Woodland Winter stamp set and colored it in with my Copic markers.

I am not sure what the patterned paper is (I dug deep into my stash for it).  I used some of the Flax bakers twine from The Twinery, some pom-pom trim, and some stitching with my sewing machine to pull the card together.

For the snow, I used a Snow Writer from DecoArt and then added some fine glitter from Martha Stewart to make it sparkle (too bad it doesn't show up in th picture.

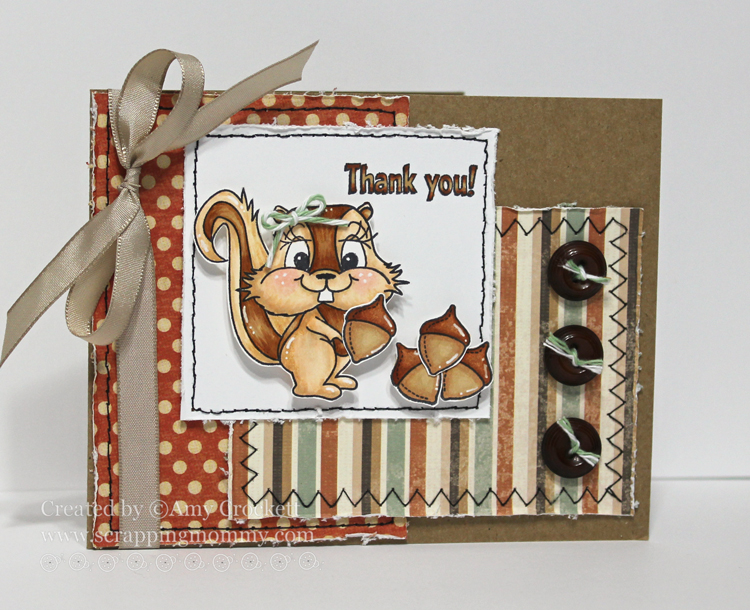
My Second card today uses the new October Stamp Kit of the Month from Peachy Keen Stamps.  Again, I colored the image with my Copic markers and then added a little white pen detail.

This card is actually the example of October Challenge #1 on the Peachy Keen Stamps ning site this weekend for the release.  It would be so fun if you wanted to come over and participate with us.  The challenge is a 3, 2, 1 challenge that I am hosting.  You will need to create a project with Peachy Keen Stamps that uses 3 buttons, 2 patterned papers, and 1 ribbon.  So easy and there are some fab prizes up for grabs.....CLICK HERE to get all the information and to link up your card.

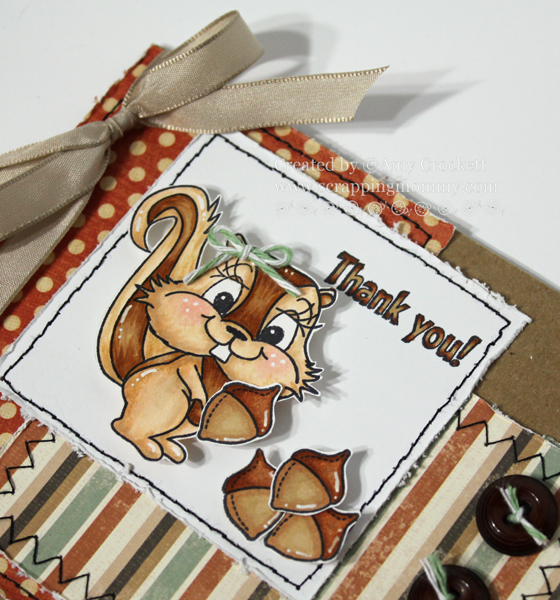
Isn't this little chipmunk/squirrel the cutest??  There are a few different faces you can use on this stamp for both a boy and a girl, plus there are two different bodies that face different ways.  Perfect to make any kind of combination of these little cuties!!  I used a little bit of the new Seaweed bakers twine from The Twinery on this card, too.

Now, it is GIVEAWAY time.  I just love having giveaways!!  I have been cleaning out my scrap stash and found this collection of three stamps sets that have never been used.  They are prefect for card making. 

I would like to give it away to someone that leaves a comment today under this post telling me what got you interested in crafting.  I will randomly pick a winner for these stamps sometime next week, so be sure to come back to see if you won.

For me, I became interested in crafting because of my grandmother.  She was a very talented crafter and I spent so much time with her and would join in on some of her crafting projects as I was growing up.  She taught me how to crochet when I was 5....she must have had quite a bit of patience with me, that's for sure!!  I just lost my grandmother this week and I am missing her very much!!  In some ways, she was more like a mother to me.  She will always be thought of as I create, because without her, I don't know if I would have started in the first place.  Now, it is your turn.....tell me how you became interested in crafting.

Hugs,
Amy